

Straw Bale Gardening Cut Side
Straw bale gardening gives you advantages over growing a garden in the conventional way.
Straw, as it decomposes, often provides better nutrients, and a better growing medium than your soil.
If you don't have enough space, straw bales are an ideal way to grow in small spaces like on a patio, deck or balcony.
Straw bales are higher off the ground than traditional planters, so you won't have to bend over as far to care for your plants.
SUPPLY LIST:
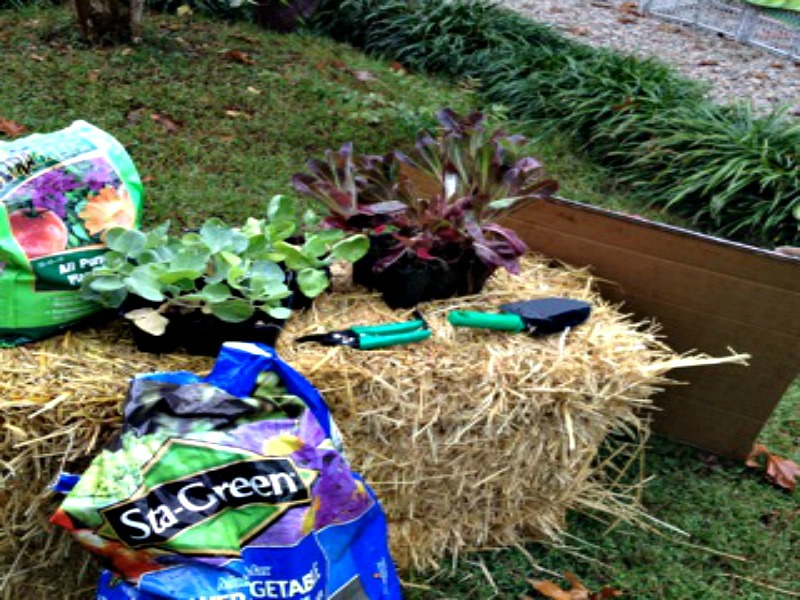
1 Bale of wheat straw
1 Bag of potting soil (Note: if planting seeds use a planting mix for seeds)
Fertilizer with a good nitrogen content
Landscape fabric, cardboard or newspaper
4 Plants or seeds of your choice
Tools Needed:
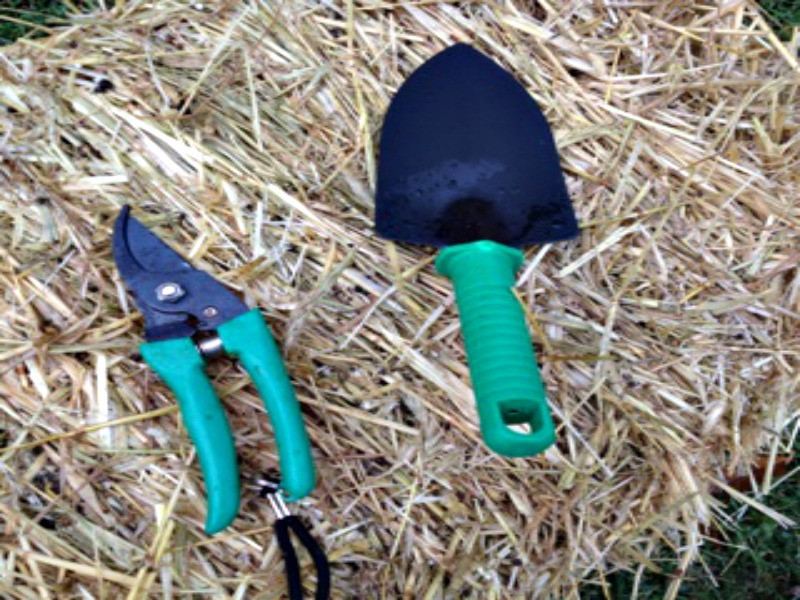 Pruners, Trowel
Step 1: Position the bales
Decide where to place your straw bale garden making sure it is a sunny location. Once wet, these bales become heavy and are more difficult to move.
If placing on grass put landscape fabric, newspaper or cardboard underneath the bale to prevent the grass from growing up through it.
Turn the straw bale so the cut side is facing up, and strings facing out. This will allow for the hollow straws to let the water be absorbed better, and you won't cut through the strings holding the bale together.
Step 2: Condition the bales:
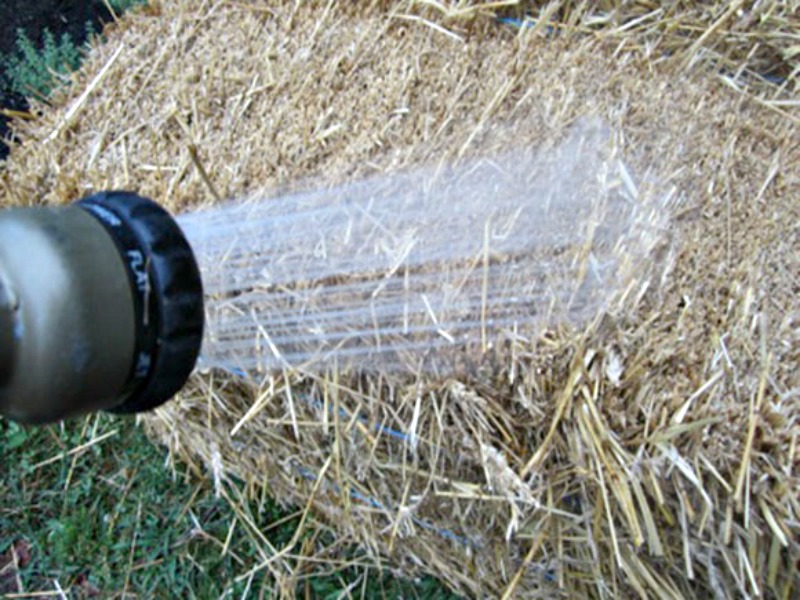
Two weeks before planting you must condition the straw bales. This involves wetting the bales and adding fertilizer.
 The nitrogen in fertilizer speeds up the composition process of the inner straw.
Once the bales get wet they start heating up inside and decomposition begins.
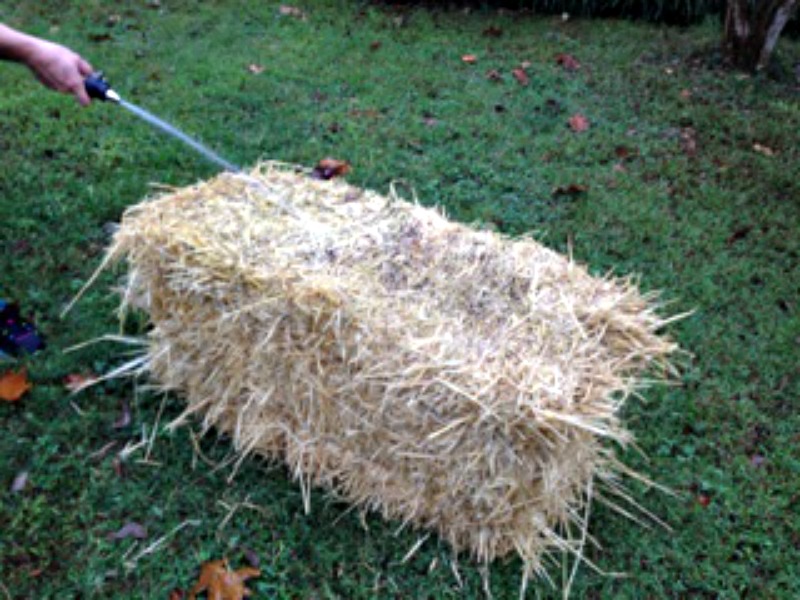
For the first 3 days water the bales keeping them moist all 3 days.
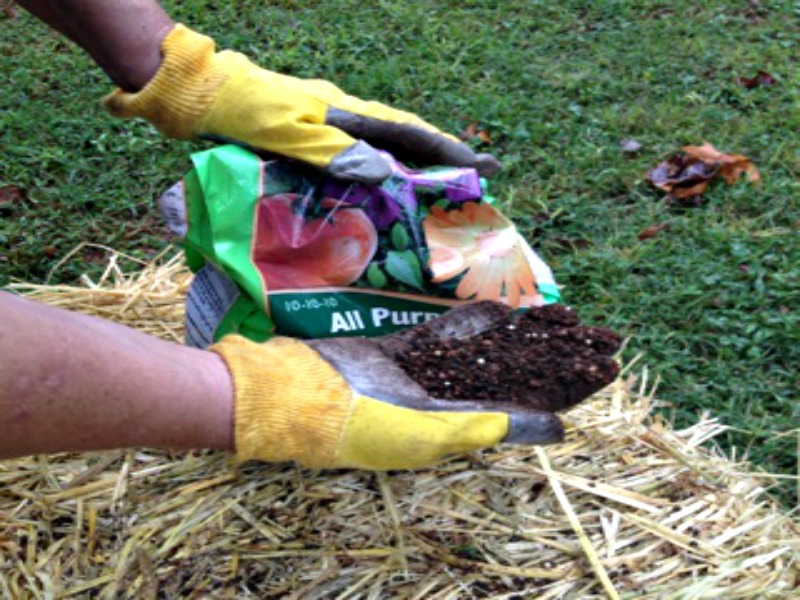
On days 4 through 6 sprinkle the bales with 1/2 cup of fertilizer each day, then water thoroughly to force the fertilizer into the straw.
On day 7 through 9 reduce the fertilizer to ¼ cup per day, and continue to water each time after applying the fertilizer.
On day 10 stop adding fertilizer but continue to water.
On day 11 stick your hand in the bale if it has cooled down lower than your body temperature, than it is safe to plant.
If not, continue watering each day until the inner temperature cools to below body temperature (98.6 degrees). Hint: To know the exact inner temperature of the straw bale you can use a compost or meat thermometer.
Step 3: Preparing the holes

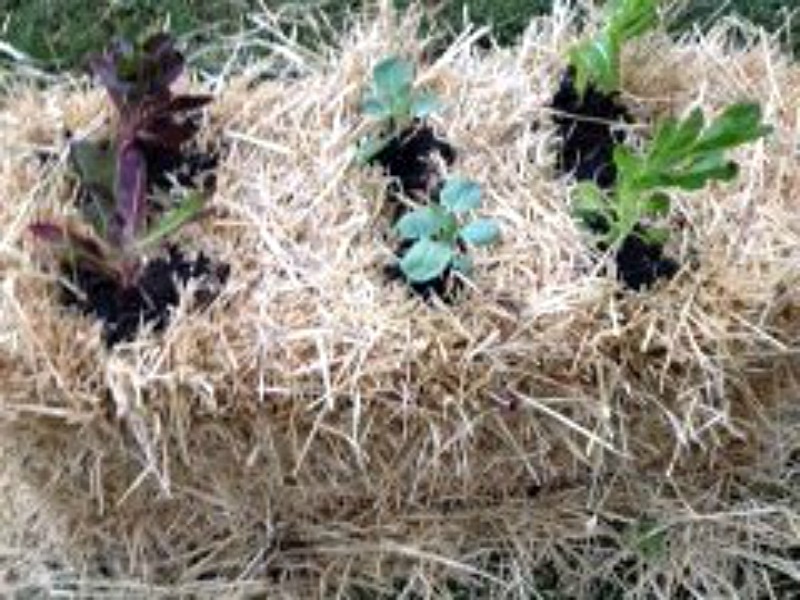
Use pruners to cut through the straw, pulling away the cut straw to make small holes for each plant as deep as the root ball of your plants. You will need four holes per bale for four plants.
Step 5: Planting
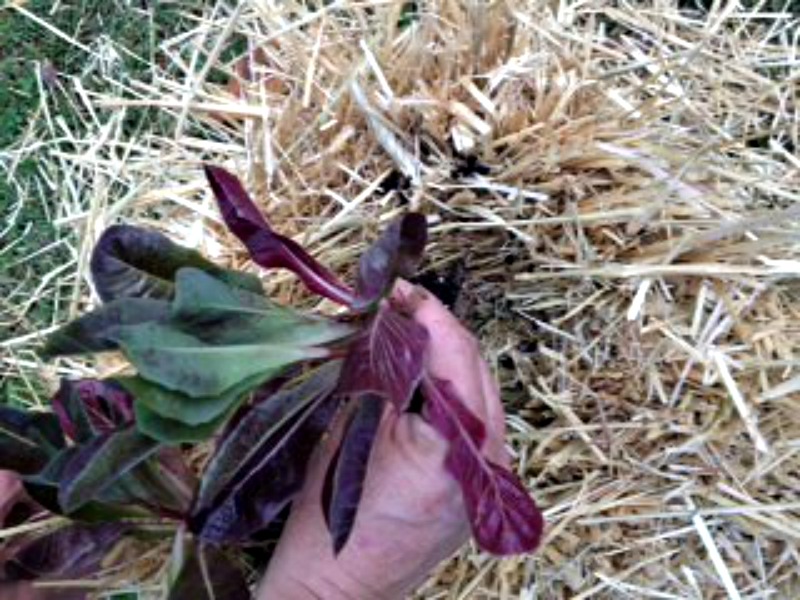
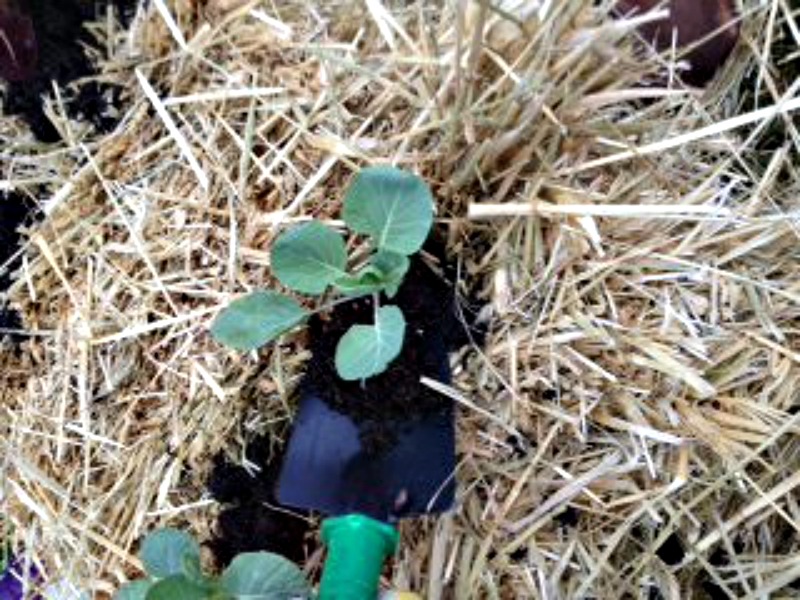
Place one plant per hole and place some potting soil around the root ball to protect the roots, and for stability (Note: If planting a plant that will grow tall, you may want to make the hole a little deeper).
If you choose to plant seeds instead, just sprinkle a few seeds directly into the holes and lightly cover with a one to two inch layer of planting mix. Do not let your bales dry out, water as necessary.
Step 6: Maintenance

In the beginning you may need to water more that once a day, but as the straw starts to decompose it will hold more water and less watering may be required.
A soaker hose spread out over the top of the bales is a good way to water your straw garden.
About The Author:
Debbie Russell works as a special event coordinator for a parks and recreation department in Tennessee, but also utilizes her life long experience in gardening and landscaping creating beautiful beds and gardens for the parks. When not atwork, she is at home landscaping and gardening her seven acres. She raises chickens, and enjoys crafting and quilting.
Straw Bale Gardening Cut Side
Source: https://mikesbackyardnursery.com/2014/10/diy-straw-bale-gardening/
Posted by: embreetheatelf.blogspot.com
0 Response to "Straw Bale Gardening Cut Side"
Post a Comment